

ARB Safari Snorkel Installation
Model number SS81HF manufactured by ARB of Australia
We decided that we need a snorkel for a variety of reasons. The main decision factors were the potential for major river crossings and the need to have a cooler engine bay. This is the updated model that takes into account that this is a US vehicle which means the driver's side is on the left with the power antenna. This version is molded to fit slightly lower than the previous model, which required melting the plastic or moving the antenna. This is a page devoted to the installation of the snorkel.

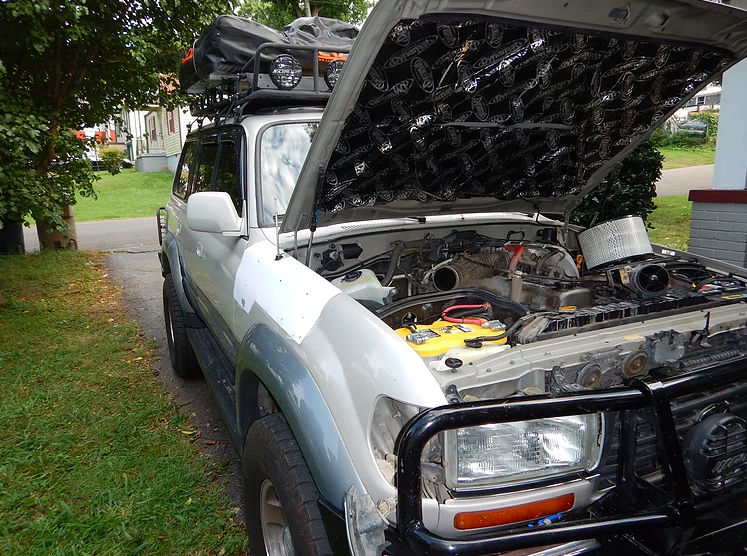
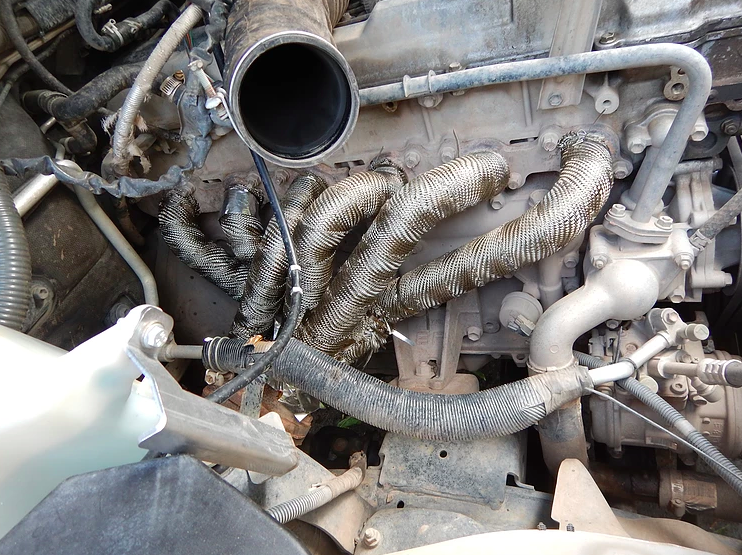

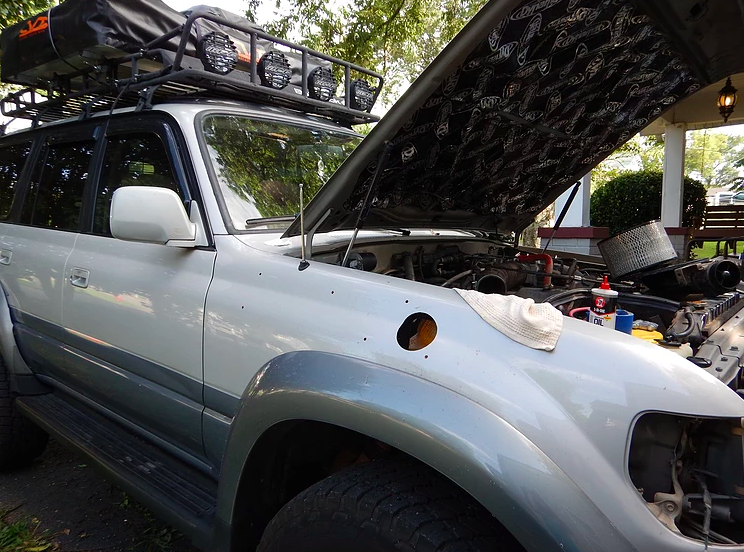
Remove everything in the way
I had to remove the air cleaner, air cleaner housing, windshield washer fluid bottle and bracket, left turn signal and a few other odds and ends to be able to access the area behind the fender. The dual battery system makes it a little more challenging to find the space to move things around.
FITTING THE TEMPLATE
Fitting the template was a little nerve racking because it determines where to cut the holes in the fender. I had to check, recheck, then go inside the house and come back out to check it again, then had Sunny look at it just to make sure. It looked right, so I cut out the largest hole first.


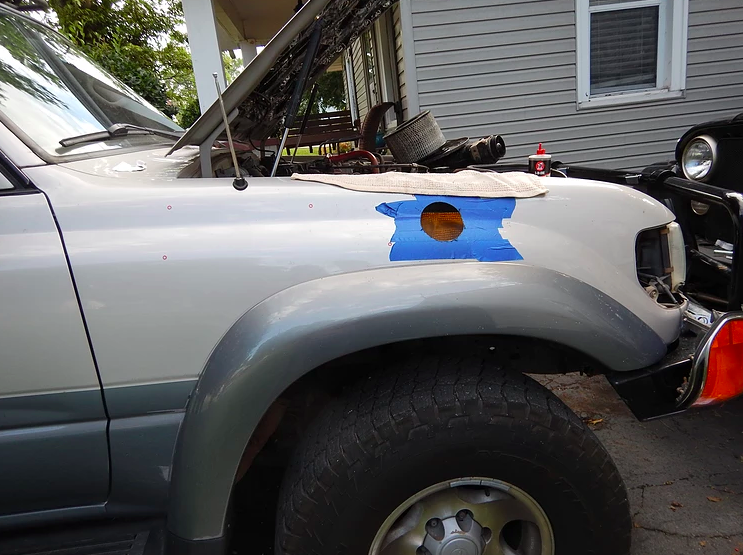
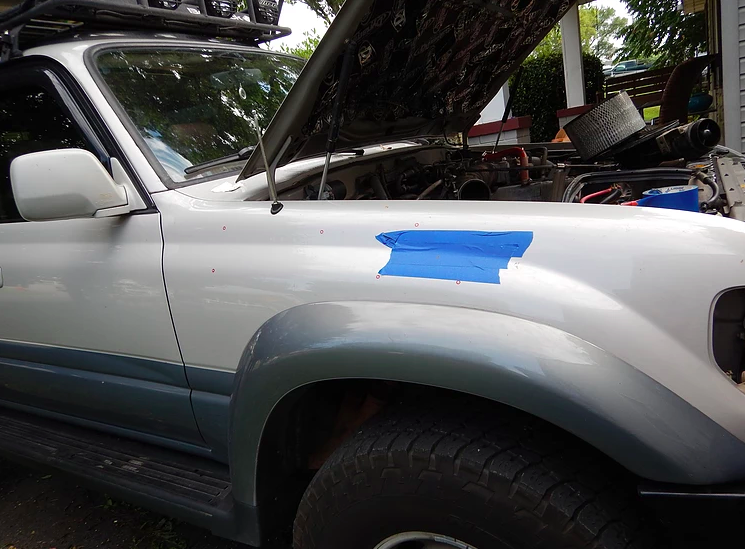
MARk and MASK
I used a sharpie to mark the holes in the template. Then used masking/painters tape on the fender where the largest hole would be cut to make sure not to scratch the paint if the hole saw slipped while cutting.
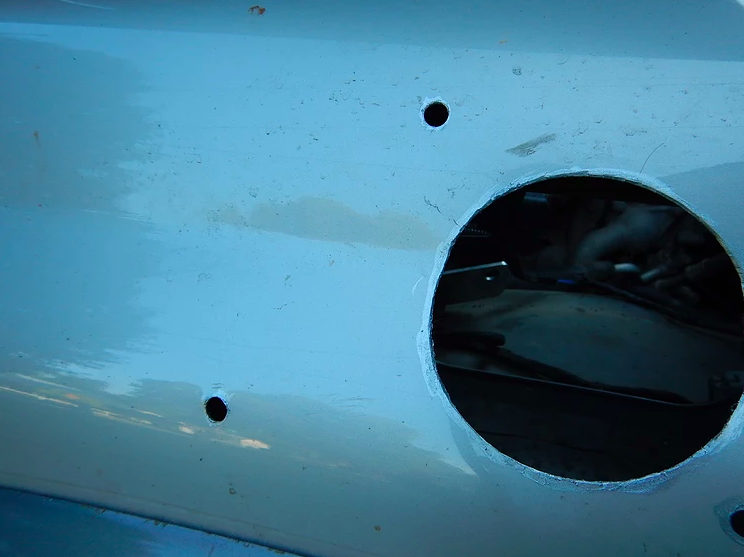
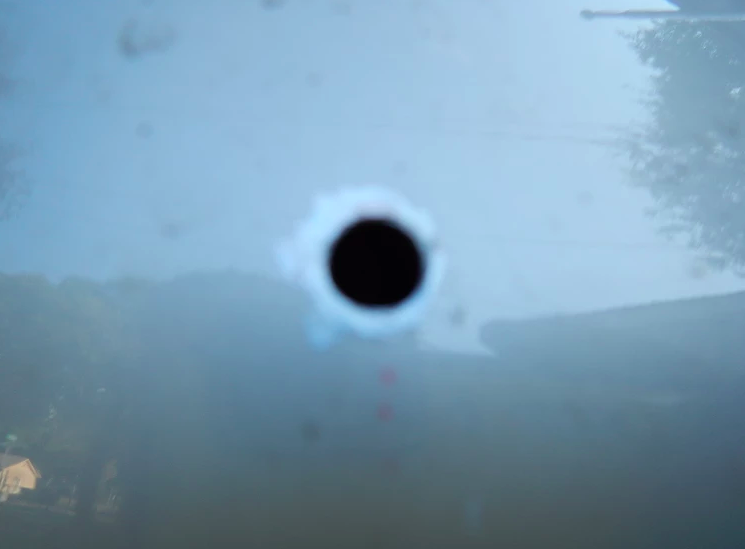
First hole cut...whew!
The largest hole was pretty easy to cut. I used that as a guide for the other holes by putting the snorkel in that hole, and then marked the studs and pressed them against the fender. They matched up pretty close to where the template said to put them, but were slightly off so I'm glad I checked.
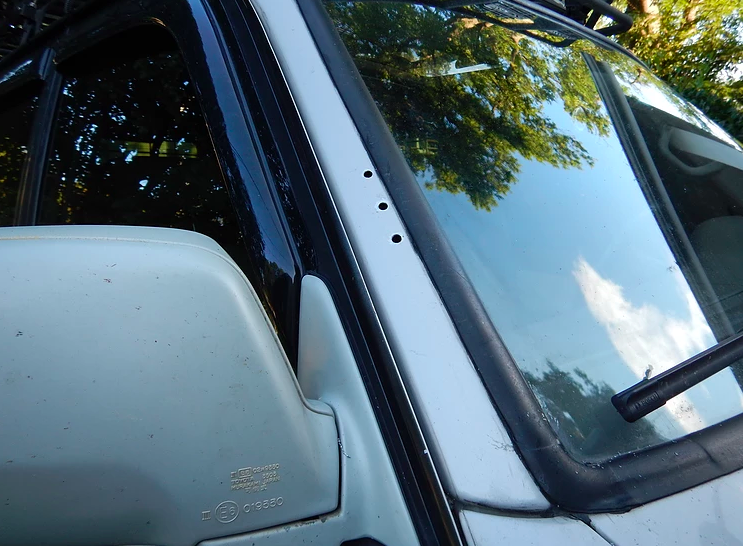
The smaller holes in the fender were cut just using a step drill bit. The holes in the windshield were cut using a regular drill, graduating the sizes until the proper size was met. If you are drilling there then be sure not to drill the bottom hole very deep because there's a risk of messing up the windshield trim.
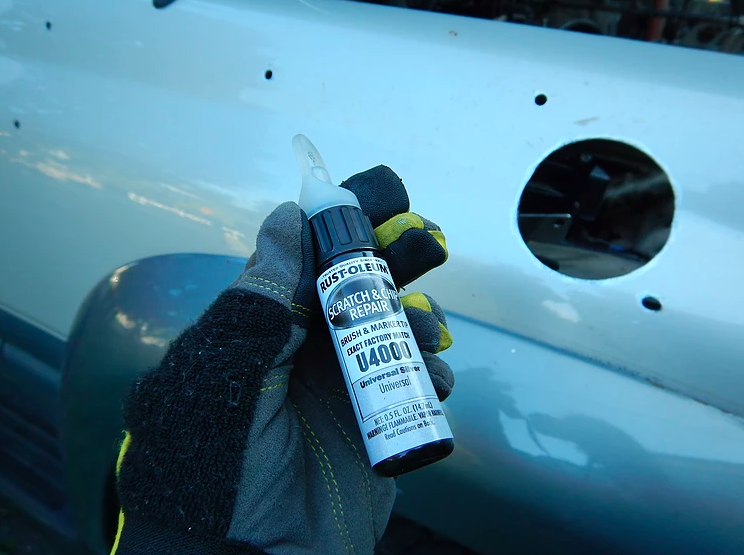
PREP WORK
The next step was to file all the sharp metal edges away, then coat all of the exposed metal with touch-up paint. This is to ensure the raw metal edges don't rust. I used just a standard Rustoleum touch-up paint in silver.
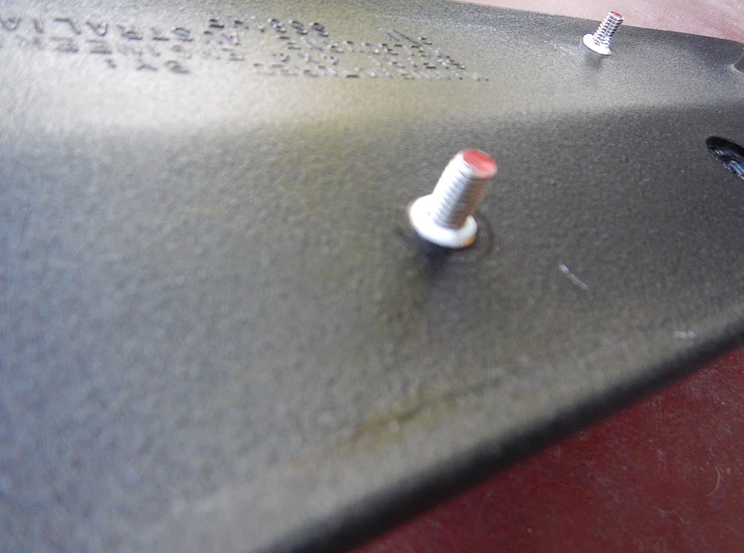

FITTING THE SNORKEL
I used Permatex thread sealant and hand-tightened the studs into the snorkel. I chose Permatex instead of loctite because I wanted to have 24 hours to move things around before a permanent bond was made, if needed.
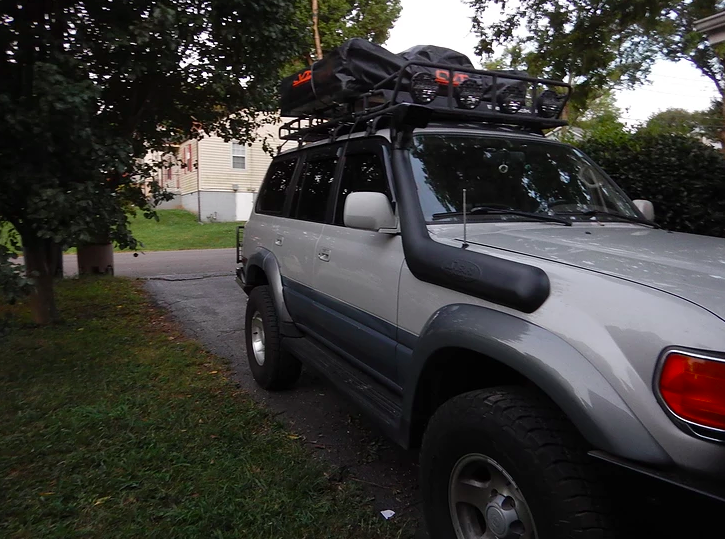


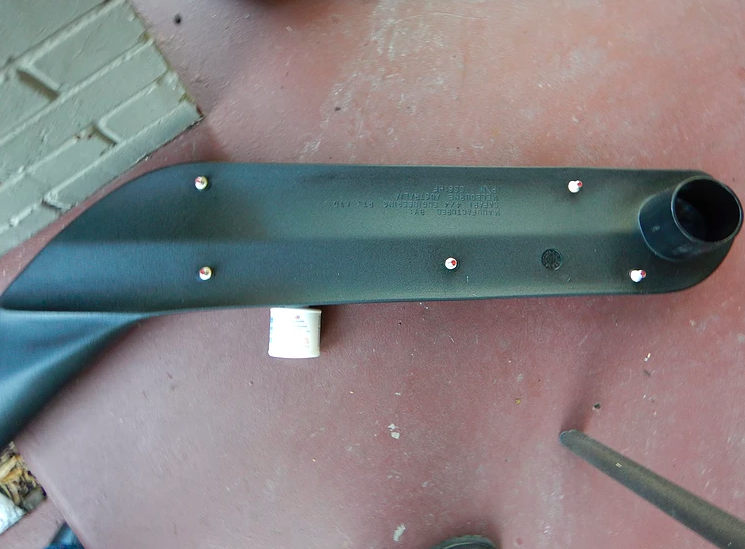
SNORKEL INSTALLED
Once the snorkel was put together, I pushed it into the openings that had been cutout and bolted them in. The last two bolts were really difficult and required removing the power antenna in order to reach them. Not the best design in my opinion. I tossed around the idea of unbolting the fender to pull it back to reach them but decided to remove the antenna temporarily instead.
I've only had it installed for a few days, but so far it sounds a little throatier and is definitely cooler inside the engine bay.